In recent years, the world of photography has witnessed a resurgence in analog techniques, with Kodak Vision film leading the charge. Originally designed for cinematic applications, Kodak Vision has transitioned into the realm of photography, capturing the attention of enthusiasts and professionals alike.
One might wonder, what makes Kodak Vision so special? The appeal lies in its unique cinematic qualities that offer clarity, depth, and a distinct character not typically found in traditional negative films. As photography enthusiasts embrace Kodak Vision’s potential, its popularity in the analog community continues to grow.
Kodak Vision in 35mm – Everyday Cinema
Once a luxury for filmmakers, Kodak Vision 35mm films, such as Vision3 500T and 250D, are now accessible to the everyday photographer. These films provide impressive exposure latitude, rich colors with an analog punch, and cinematic grain behavior even when pushed or pulled. Photographers are now using these films for street, portrait, and travel photography, transforming how we perceive everyday moments.
65mm Format – A Dream Come True for Medium Format Photography
Alongside 35mm, Kodak Vision is making waves in the medium format segment with its 65mm film. Designed for cameras like Hasselblad, Bronica, or Mamiya, these films deliver breathtaking details and tonal range. The results evoke a strong sense of analog large format, offering photographers an unparalleled tool for creative exploration.
Development Processes: ECN-2 vs. C-41
While Kodak Vision is intended for the ECN-2 process, many labs offer C-41 processing as a shortcut. However, this raises a debate within the community. C-41 processing is easier and more convenient but often alters color fidelity. Conversely, ECN-2 processing maintains the authentic look of the film, yet requires more specific handling. This choice can significantly affect the outcome of the scans, leaving photographers to ponder what works best for them.
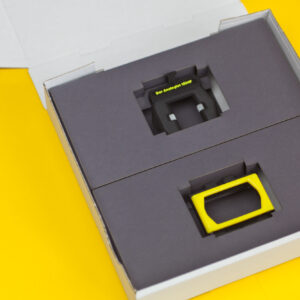
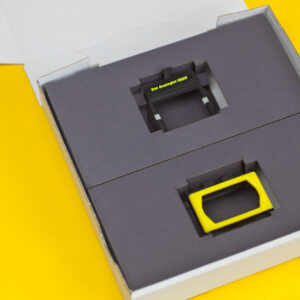
Scanning with Fuji SP-3000: Precision Matters
The Fuji Frontier SP-3000 scanner is an industry standard among professionals, particularly for Kodak Vision materials. The setup plays a crucial role in ensuring that the right colors, sharpness, and contrast are achieved. As specialists in providing accessories and components for labs working with the SP-3000, we understand that:
- Vision films are sensitive to automatic features.
- Manual white balance targeting is crucial, especially when dealing with remnants of Remjet.
- Many labs utilize a low-contrast profile to fully capture the dynamic range.
- Digital sharpening should be avoided; Vision films thrive on their natural look.
As providers of essential accessories, we empower labs to get the best results from their Fuji Frontier SP-3000 scanner — reliable, precise, and durable.
Join the Conversation!
We want to hear from you! What have your experiences with Kodak Vision been like? Do you prefer developing in ECN-2 or C-41? What SP-3000 settings yield the best results for you? How do you scan your film — DIY or professional lab? Let’s discuss in the comments below!